 Curator
18 August, 2026
Curator
18 August, 2026
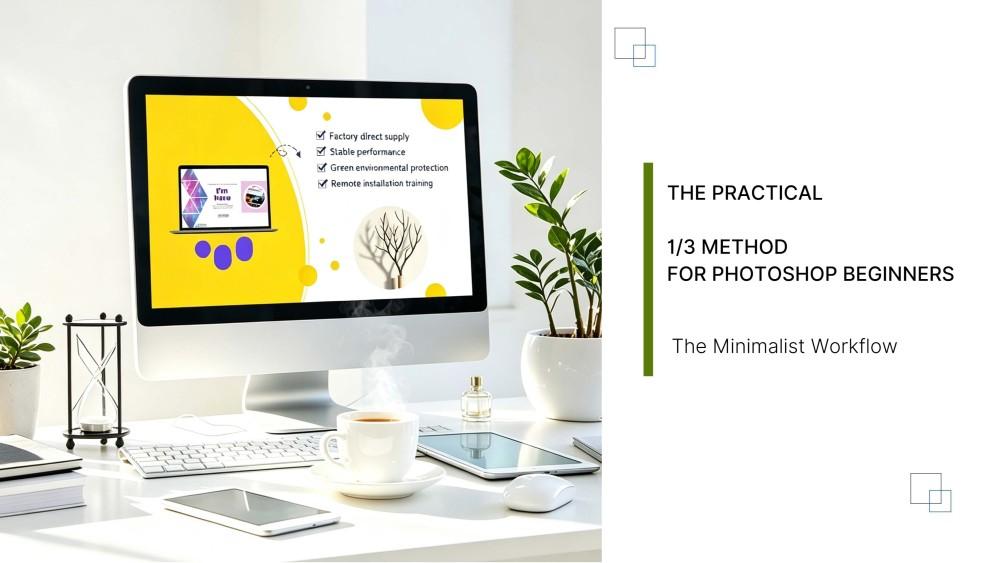
self taught graphic designer portfolio roadmap | 1/3 Tools = 90% Commercial Layouts
Hey everyone, I’m Desinique. A lot of beginners ask me if self-teaching graphic design means mastering every single feature and filter in Photoshop. The answer is a big "nope." If you want to jump into the industry fast, a clear and efficient self-taught graphic designer roadmap is all about subtraction—mastering the core 1/3 of the tools to solve 90% of real-world commercial needs.
Today, I’m sharing this ultra-practical, minimalist Photoshop toolkit with you. The Minimalist Photoshop Toolkit (Master Just the Core 1/3) Following this real-world strategy for learning graphic design without a degree, you only need to master these four groups of essential Photoshop tools for beginners:
Group 1: Selections & Basic Operations
Move Tool (V): Moves layers and selections. Quick Shortcut:`Alt` + Drag = Quick duplicate; `Shift` locks movement horizontally, vertically, or at 45°; Arrow keys nudge pixel by pixel. Rectangular Marquee Tool (M):Quickly creates rectangular or square selections. Quick Shortcut: Hold `Shift` for a perfect square; `Alt` draws from the center; hold `Spacebar` to reposition the selection on the fly.
Lasso Tool (L):Creates freehand selections (includes Magnetic Lasso Tool). Quick Shortcut:`Shift + L` cycles through sub-tools; Magnetic Lasso Tool automatically snaps to edges. Quick Selection / Magic Wand Tool (W):Selects areas with similar colors. Quick Shortcut: `Shift` adds to selection, `Alt` subtracts; tweak "Tolerance" to adjust precision.
Group 2: Retouching & Erasing
Clone Stamp Tool (S):** Copies pixels from one area to retouch flaws. Quick Shortcut: `Alt` samples a point; sample nearby pixels for a natural look; lower the opacity for smoother blending. Eraser Tool (E): Erases parts of an image. Quick Shortcut: Hold `Shift` to erase in a straight line; Magic Eraser Tool clears solid backgrounds in one click.
Group 3: Vector & Typography Pen Tool (P):Precise cutouts and vector paths—your main weapon for building practical graphic design skills. Quick Shortcut: `Ctrl` tweaks anchor points; `Alt` breaks/adjusts direction handles; `Ctrl + Enter` turns path into a selection. Horizontal Type Tool (T): Adds and formats text. Quick Shortcut:`Alt + Up/Down/Left/Right Arrows` adjusts leading and tracking; `Ctrl + Shift + > / <` changes font size quickly. Polygon Tool (U): Draws polygons or star shapes. Quick Shortcut: Hold `Shift` for an equilateral shape; `Alt` draws from the center; set the number of sides in the Options Bar.
Group 4: Color & Fills
Foreground / Background Color Switcher:** Works with painting and selection fills. Quick Shortcut:* Press `D` to reset to default black/white, press `X` to swap foreground/background; `Alt + Delete` fills foreground color, `Ctrl + Delete` fills background color.
Commercial Realities: Why Practical Design Doesn't Need "Fancy Tricks"
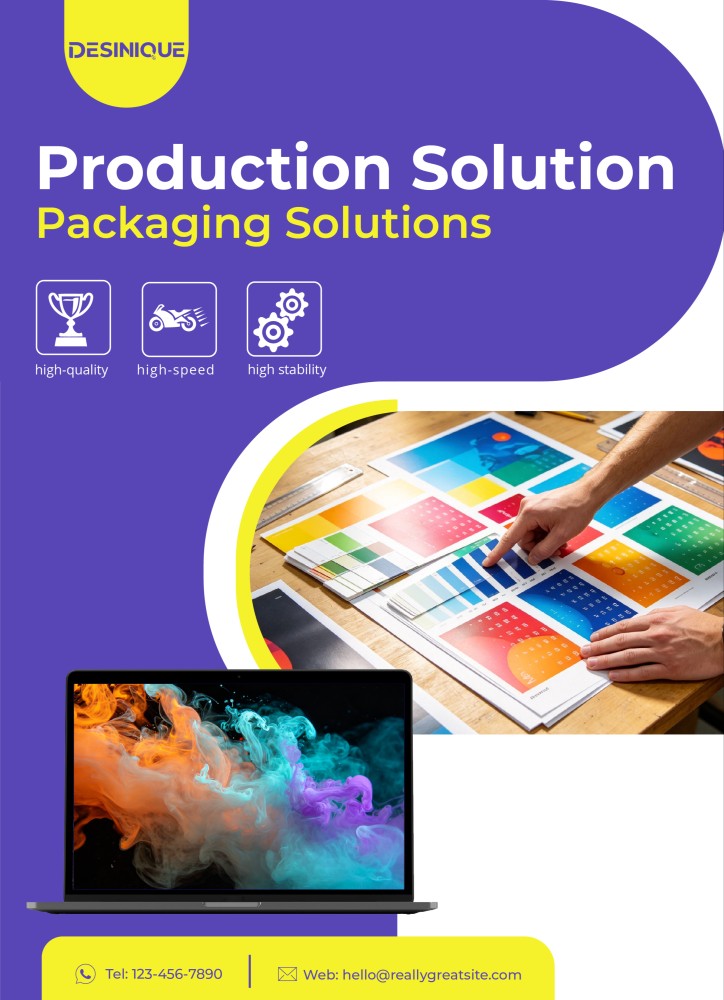
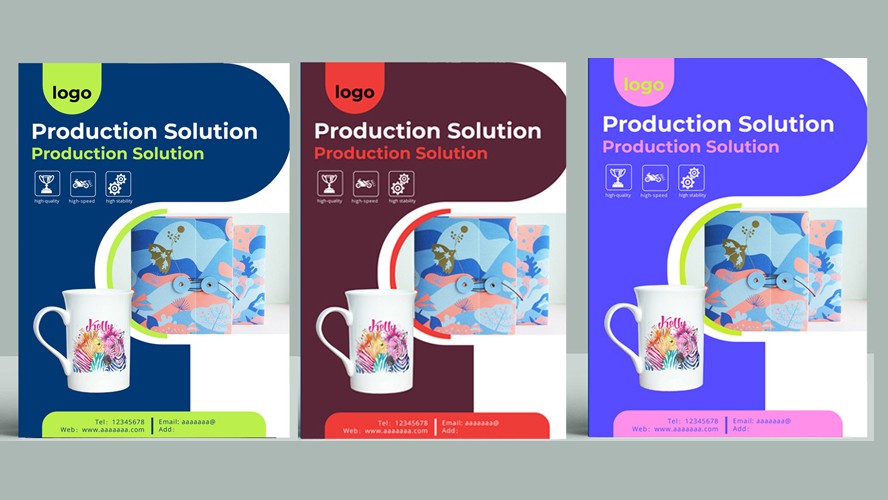
Take the product cover shown in this post: it was approved on the very first draft. In actual production, the tools I used stayed strictly within that 1/3 toolkit listed above. Yet, the client loved it and passed it without revisions. Many beginners fall into the trap of thinking that flashier visuals and complex filters make a design "superior." In the real world, clients want practical design—clean visual hierarchy, crystal-clear message delivery, and fast execution.
As you build out your step-by-step graphic design self-study guide, keep this in mind: Tools are just a means to an end; solving the client's problem is what actually matters.
Popular